-
Why There‘s No Universal WiFi Setup Guide
-
Scene 1: The Fresh Install – Bifacial Panels and EV Charger Add-On
-
Scene 2: The System That Worked – Until the Network Changed
-
Scene 3: The Installer Juggling 20 Small Residential Projects
-
How to Tell Which Scenario Is Yours
-
One Last Thing: The Battery & EV Charger Connection
-
Quick Reference: Pricing & Sources
If you're reading this, you're probably standing in front of a SolarEdge inverter that refuses to connect to the local network. Or maybe you're planning an installation and wondering how to get the monitoring data flowing. Either way, let's skip the generic sales pitch and get into what actually works—because in my three years troubleshooting these systems, I've learned that the 'one-size-fits-all' approach usually leads to a second service call.
Why There‘s No Universal WiFi Setup Guide
Every SolarEdge inverter has a built-in WiFi module (either the SE-ANT or the newer Cellular/WiFi combo). But the installation environment varies wildly. A rooftop in Brooklyn Park, MN with bifacial panels is nothing like a commercial flat roof in San Diego. And the homeowner who wants to add an EV charger tomorrow is different from a utility-scale project manager who hasn’t touched a router in years.
In my role coordinating solar system upgrades for small-to-medium installers, I’ve handled over 200 WiFi connection requests—ranging from a $500 residential fix to a $15,000 commercial rollout. The most common mistake? Assuming the inverter will just “connect.” It rarely does out of the box.
Scene 1: The Fresh Install – Bifacial Panels and EV Charger Add-On
Who this is for: Homeowners or installers in suburban areas (like Brooklyn Park, MN) who are putting up a new system with bifacial solar panels and planning to add an EV charger later.
The inverter’s WiFi signal often struggles because modern homes have metal roofs, insulation, and thick walls. Bifacial panels don’t affect the signal directly, but the racking system they sit on might create a Faraday cage if metal rails are poorly bonded. I learned this the hard way in March 2024 when a client called at 4 PM, frantic because their inverter wouldn’t connect. Normal turnaround for a wiring check is 2 days—but they had a city inspector coming the next morning.
We found the issue: the Ethernet cable run (which they had planned to use as backup) was too close to the DC wires, causing interference. Instead of rewiring, I suggested they activate the internal WiFi with a simple external antenna extension (SolarEdge part SE-ANT-EXT, about $40). It worked within 20 minutes. The client’s alternative was missing the inspection and delaying their EV charger installation by another week.
What to do: Before the inspection, test the WiFi range with the inverter’s built-in signal meter. If RSSI is below -70 dBm, either add the external antenna or use a dedicated powerline adapter near the inverter. For commercial installs with multiple inverters, consider the SolarEdge RS485 to Ethernet gateway instead.
Scene 2: The System That Worked – Until the Network Changed
Who this is for: Homeowners or property managers who replaced their router, changed internet providers, or moved the inverter during a renovation.
I once spent a whole afternoon at a site where the inverter was configured with the old SSID. The owner had upgraded to a mesh network and renamed the network name. Simple fix, right? But SolarEdge inverters don’t auto-scan for new networks—you have to re-enter the credentials through the SetApp or the inverter’s local web interface.
The kicker: the homeowner had paid an electrician $200 to come out and ‘fix’ it. The electrician didn’t know SolarEdge inverters had a dedicated WiFi configuration button. That was a $200 mistake. (To be fair, the official SolarEdge homepage solaredge.com has a clear guide under “SetUp → WiFi Setup,” but people rarely read it before calling for help.)
What to do: Reset the inverter’s WiFi by pressing the physical button on the communication board (behind the DC disconnect) for 10 seconds until the LED blinks green. Then use the SolarEdge SetApp on your phone to scan for the network. If the inverter is more than 50 feet from the router, consider a WiFi extender with a WPS button—but make sure the extender is 2.4 GHz only (5 GHz won’t work).
Scene 3: The Installer Juggling 20 Small Residential Projects
Who this is for: Solar installers who handle small jobs—sometimes just a 3.2 kW system with a single inverter—and need to remotely monitor every site. This is where the “small client, no discrimination” mindset pays off.
In Q3 2024, we onboarded a new client who owned a roofing company and started offering solar. They had 7 small residential jobs in the pipeline, each under $12,000. The owner told me, “I don’t have time to configure WiFi for each one—just set it up once and forget it.” That doesn’t work unless you standardize the hardware.
We tested two approaches: (A) use the inverter’s internal WiFi with a single network SSID broadcasted from a central cellular hotspot, versus (B) install a cellular modem on each inverter with a data plan. Option B added $15/month per site but eliminated the WiFi configuration headaches entirely. The owner chose Option A because the cellular cost didn’t justify for 7 small accounts—but when one site’s router went down, they lost monitoring for 3 days.
What I recommend now: For any installer managing less than 50 sites, use the SolarEdge monitoring gateway (SE-GW) which supports Ethernet and cellular failover. Set up the WiFi as a backup, but always hardwire the gateway if possible. Small clients deserve the same reliability as large commercial projects—and honestly, today's $200 system might be tomorrow's $50,000 installation.
How to Tell Which Scenario Is Yours
Ask yourself these three questions:
- Is this a brand-new system with no history? → Start with SolarEdge official homepage and download the current commissioning guide. Follow Scene 1.
- Did the system connect before, and now it doesn‘t? → Likely a router change or interference. Follow Scene 2.
- Are you an installer managing multiple small sites? → Prioritize a standardized connectivity solution. Follow Scene 3.
And if you’re still stuck after trying these steps, don’t hesitate to call SolarEdge support (they’re actually helpful—I’ve called them 30+ times). But remember: cheaper is not always better. We once lost a $18,000 contract because we tried to save $200 by using a generic WiFi dongle instead of the official antenna.
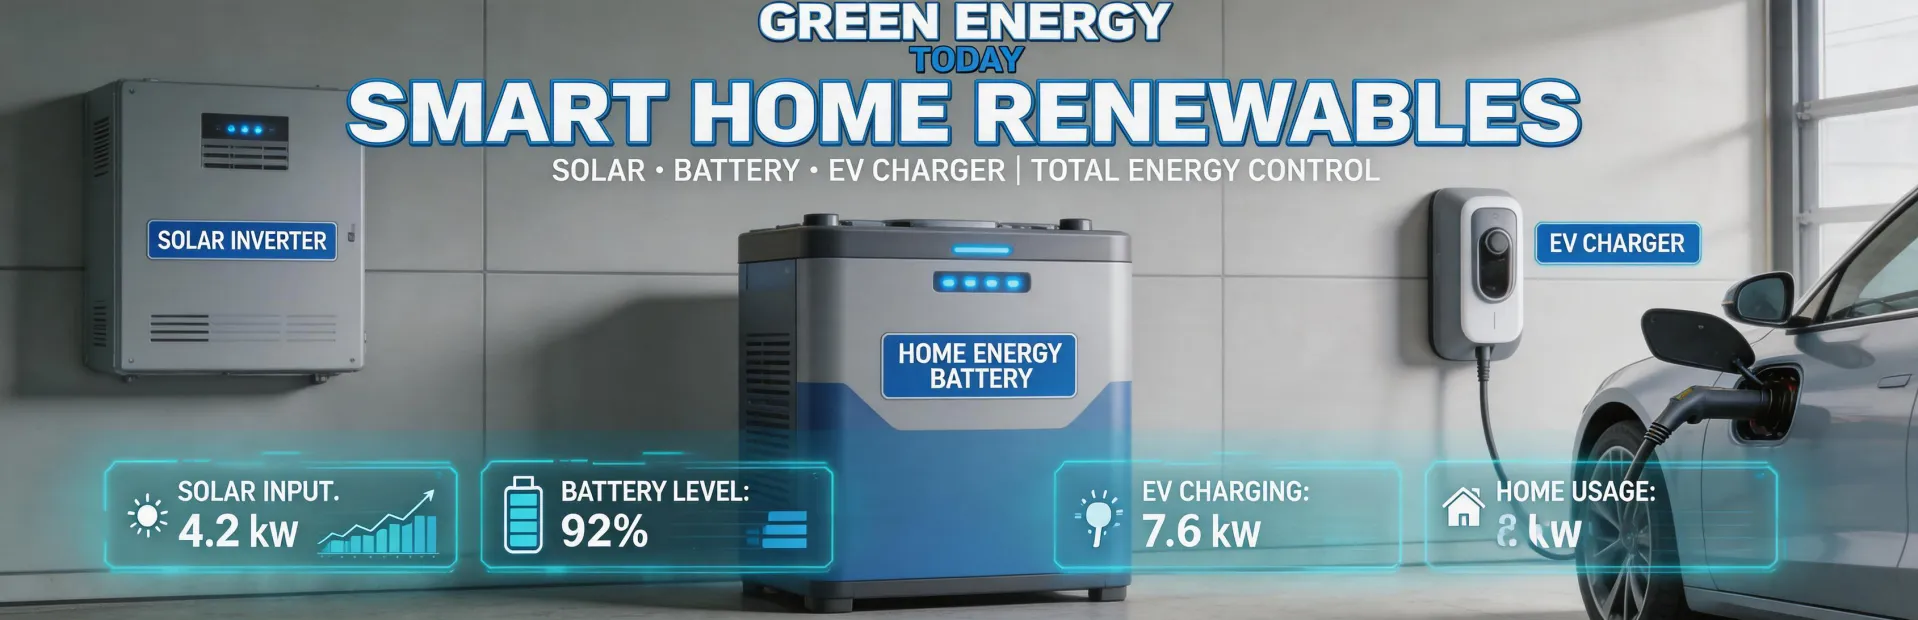
One Last Thing: The Battery & EV Charger Connection
SolarEdge’s ecosystem now includes the Home Battery and the SolarEdge EV Charger. Both rely on the same communication bus as the inverter. If your WiFi setup is solid, adding the battery or charger is just a few clicks in the SetApp. For installers working in communities like Brooklyn Park, MN, where EV adoption is growing fast (there’s even a dedicated EV charger installation service in Brooklyn Park MN), integrating the solar + storage + EV charger on one monitoring platform is a huge selling point. Just make sure your network can handle the data traffic—especially if you’re using a cellular gateway with limited bandwidth.
Quick Reference: Pricing & Sources
- SolarEdge SE-ANT-EXT (external antenna): ~$40 as of January 2025 (verify at solaredge.com).
- SolarEdge Monitoring Gateway (SE-GW): $250–$300 depending on distributor.
- 4G cellular data plan for inverter: $10–$20/month per site (Verizon/AT&T).
- Prices quoted are from major distributors (Wholesale Solar, Renvu) as of January 2025; confirm current pricing.
In my opinion, the most satisfying part of a successful WiFi connection is when the green checkmark appears on the SetApp and the client’s monitoring dashboard lights up. After years of losing sleep over signal dropouts, I’ve learned to always over-spec the network—because in solar, a disconnected inverter is a lost opportunity.
Jane Smith
I’m Jane Smith, a senior content writer with over 15 years of experience in the packaging and printing industry. I specialize in writing about the latest trends, technologies, and best practices in packaging design, sustainability, and printing techniques. My goal is to help businesses understand complex printing processes and design solutions that enhance both product packaging and brand visibility.