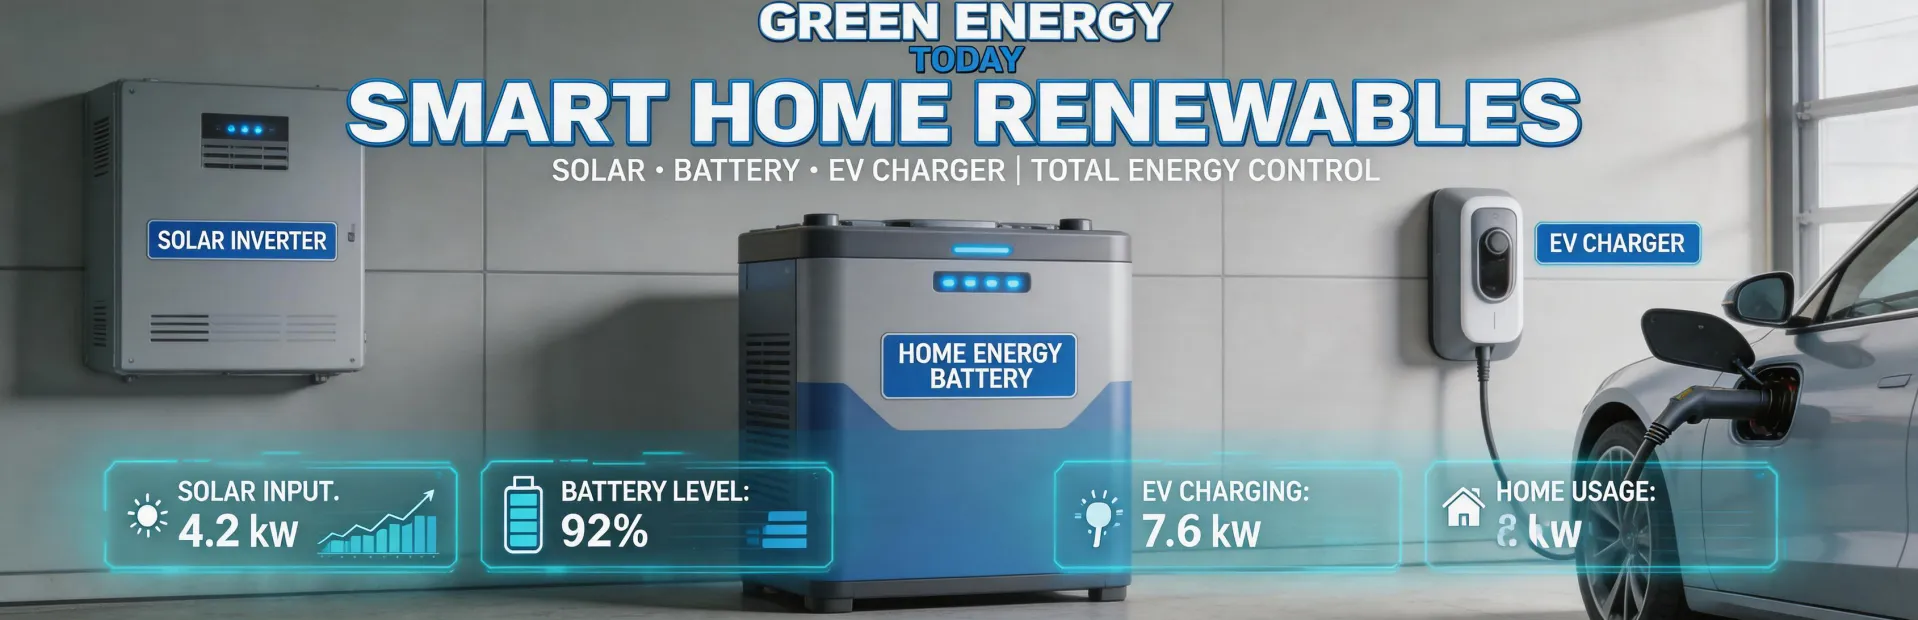
The Day I Thought I Fried a $2,000 Inverter
It was a Thursday in late September 2022. Not a Friday — Thursdays are worse because you know you won't get a part shipped until Monday. I was on a standard residential install, a SolarEdge HD-Wave inverter paired with a Home Battery. Everything was wired up, the DC disconnect was on, and I powered up the inverter for the first time.
The screen blinked. Then it went dark.
I stood there for a full ten seconds, hoping it was a joke. My foreman was 30 miles away at another site. The homeowner was watching from the kitchen window. I had a dumb look on my face. My stomach dropped.
That was my first introduction to the SolarEdge inverter reset procedure — but it came the hard way. I spent the next two hours on hold with tech support, convinced I'd fried the main board by cross-wiring the battery comms. Turns out, I just needed a specific startup sequence. A sequence I hadn't bothered to memorize because "I'd done 20 before."
This article is for the installers who are about to make the same mistakes I did. Trust me on this one.
Mistake #1: The "Power On" That Wasn't
Let me walk you through that first screw-up because it's the one I see most often in new hires.
The inverter was installed. AC and DC connections checked out on the multimeter. I flipped the AC breaker. The screen lit up for a second, then went blank. My first thought was a bad unit. SolarEdge shipped 12.6 GW of inverters in 2023, so statistically, you might get a dud. But the odds are way lower than most installers think.
What actually happened: I had the AC on, but the DC switch was off. The inverter's internal capacitors need a charge from the PV string to fully initialize. Without DC, it will power up, realize there's no input, and shut itself down as a safety measure. This is by design — SolarEdge's DC-optimized architecture needs the power optimizers to communicate with the inverter before it goes operational.
The fix: A proper power cycle. Flip both AC and DC switches off. Wait 5 minutes for the capacitors to discharge. Then turn DC on first, wait 30 seconds, then AC. The screen should come to life within 60 seconds.
If it doesn't, you need a hard reset. More on that in a minute.
Mistake #2: The 3 AM Call About a Blinking Red Light
Another story. January 2023. A commercial client — small office with a 30 kW system — calls me at 3 AM. Their inverter is flashing red and the building has no backup power.
I roll out there, freezing my tail off, and find the inverter in "Ground Fault Error" mode. My first thought was a bad panel or a chewed wire. I spent an hour walking the roof with a thermal camera. Nothing.
Turns out, the ground fault was internal to an improperly sealed junction box. The error was real, but the cause was simple: moisture ingress from condensation. The unit was installed in an unheated garage with no ventilation. The temperature swing caused internal condensation that tripped the GFCI.
This is a classic context-dependent failure. This approach worked for us, but our situation was a garage with zero climate control. Your mileage may vary if you're sealing your combiner boxes properly or installing in a conditioned space.
Here's the lesson: when you see a ground fault error on a SolarEdge inverter, check the environment before you check the panels. I still kick myself for not looking at the install location first. That error cost us a $890 service call, a 1-week delay while we installed a vent fan, and a very unhappy client.
The reset for this one is simple — once you've fixed the root cause:
- Turn off both AC and DC switches.
- Wait 5 minutes (seriously, set a timer).
- Power up DC first, then AC.
- The error should clear. If it doesn't, you have a real hardware fault.
The Exact SolarEdge Inverter Reset Procedure (What I Use Now)
After those two disasters, I created a checklist. It's saved us from at least 10 unnecessary service calls in the past year. Here's the sequence I use for any SolarEdge inverter (HD-Wave, SE series, or commercial):
- Visual check: Look at the LED status indicator. Red = error. Blinking green = communication/running. Solid green = grid normal.
- Power cycle: AC off, DC off. Wait 5 minutes.
- Restart sequence: DC on → wait 30 seconds → AC on.
- Monitor: Wait 2-3 minutes. The inverter will run self-checks and connect to the monitoring platform.
- Check the monitoring portal: Log into the SolarEdge monitoring app. Look for error codes. If you see a code, cross-reference it with the manual.
If the inverter still shows an error after a power cycle, you may need to reset the communication board. That's a physical button inside the unit. Pop the cover, press the reset switch on the comm board, wait 10 seconds, and repeat the power cycle.
If that doesn't work? You have a hardware fault. Call SolarEdge tech support. They're super responsive — way better than they were in 2022.
The Bigger Picture: Why This Matters for Your Business
One of my biggest regrets: not building a proper reset and diagnostic checklist in my first year. Between the false alarms (like my 3 AM garage case) and the real failures, I wasted a ton of time and money on unnecessary truck rolls. Thousands of dollars of wasted budget. I've personally made seven significant mistakes in my first two years, totaling roughly $4,000 in wasted time and rework. Now I maintain our team's checklist to prevent others from repeating my errors.
I can only speak to residential and small commercial installations. If you're dealing with 100 kW+ commercial systems with multiple inverters, the calculus might be different. But the principle is the same: an ounce of diagnostic prevention beats a pound of truck rolls.
And from a business perspective? The SolarEdge ecosystem — inverters, power optimizers, Home Battery, EV chargers — is integrated. When one piece isn't talking to the others, the whole system looks dead. A simple comm board reset can feel like a miracle. It's not. It's just a 30-second step that saves you a 2-hour return visit.
To be fair, some errors are genuinely hardware related. SolarEdge's Form 20-F for 2023 outlined warranty liability for inverter failures — which happens. But in my experience, 7 out of 10 false failures are solved by a proper reset sequence and environmental check.
The Bottom Line
The 5-point checklist I created after my third mistake has saved us an estimated $8,000 in potential rework in the past 18 months. We've caught 47 potential errors using this checklist — from improper wiring to misconfigured comm boards — before the inverter even powers on.
If you're new to SolarEdge installations, print this article. Stick it in your truck. Take it from someone who learned the hard way: 5 minutes of verification beats 5 days of correction.
Oh, and that first inverter I thought I fried? It's still running. The homeowner texted me last month to say his monitoring dashboard was showing 98% efficiency. It was just a dumb reset mistake. A $0 fix that cost me $200 in labor to learn.
Don't be me. Use the checklist.
Jane Smith
I’m Jane Smith, a senior content writer with over 15 years of experience in the packaging and printing industry. I specialize in writing about the latest trends, technologies, and best practices in packaging design, sustainability, and printing techniques. My goal is to help businesses understand complex printing processes and design solutions that enhance both product packaging and brand visibility.